A-A+
Windows_xampp环境下安装Smarty(Smarty入门安装教程)
Windows_xampp环境下安装Smarty
在网上找了一些安装Smarty的教程,但是没有是在xampp环境下安装的。我研究了好久,最终还算成功安装好。下面就分享在环境Windows_xampp_Eclipse EPP3如何安装?
1、下载Smarty的最新安装包,官网http://www.smarty.net/download,解压缩之后取出Smarty文件夹中的libs这个文件夹。
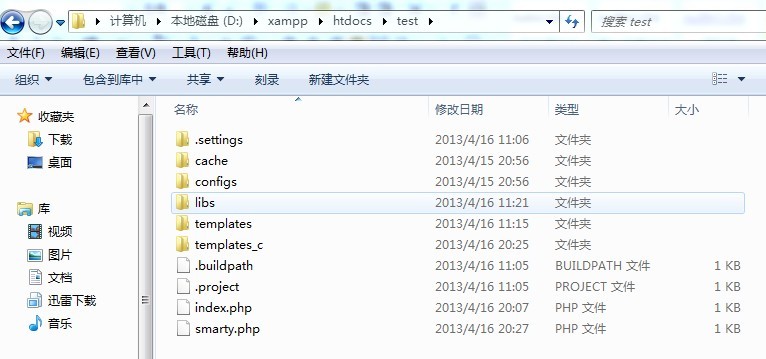
2、打开Eclipse EPP3->新建PHP项目->把libs文件夹放在PHP项目中,另外在项目中建立四个文件夹templates,configs,templates_c,cache。
3、打开D:/xampp/php/php.ini,找到include_path,如下图:
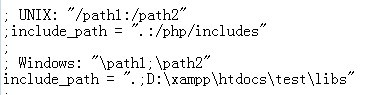
把Smarty的libs路径加上(但是我在试验过程中发现并不需要改也没事的,这边我是参考教参书来学的,自己可以试试)
4、在项目下创建smarty.php进行设置
<?php
include ("./libs/Smarty.class.php");
$smarty=new Smarty();
$smarty->template_dir='templates';
$smarty->config_dir='configs';
$smarty->cache_dir='cache';
$smarty->compile_dir='templates_c';
$smarty->caching=false;
$smarty->left_delimiter="{";
$smarty->right_delimiter="}";
?>
5、html文件全部在templates文件夹里